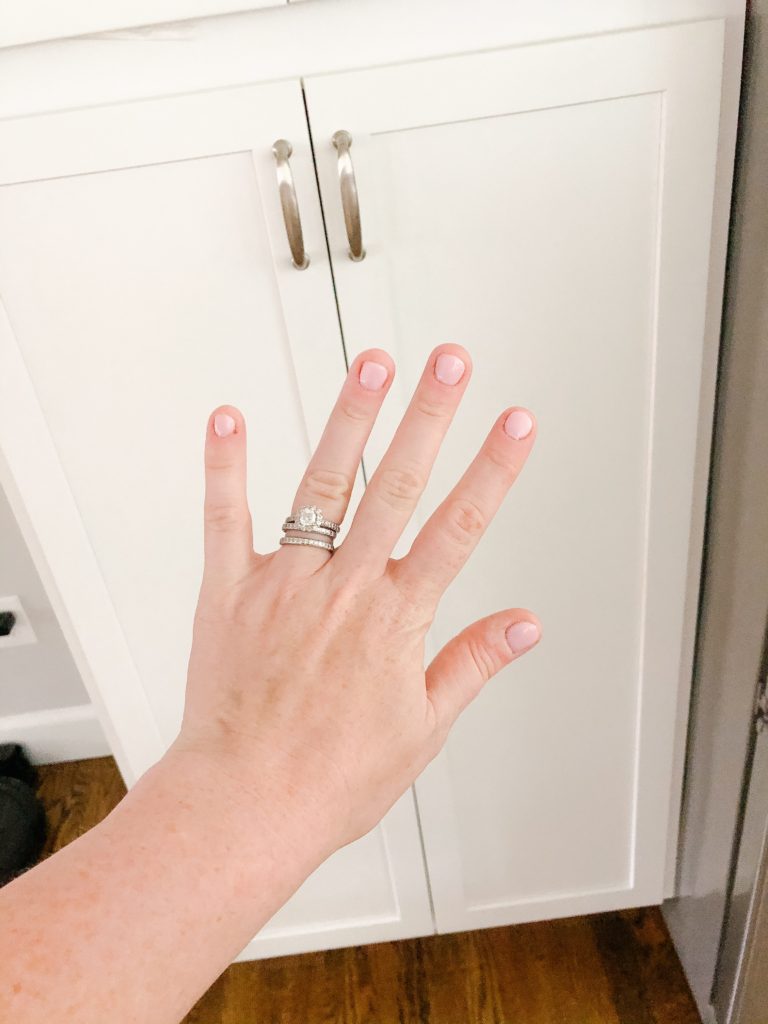
I love a gel manicure for vacations, weddings, and as a general pick-me-up. I haven’t been to a nail salon in months, so when I stumbled on a gel manicure kit that was less than $30, I thought WHY NOT!

The overall huge pros of doing at-home gel manicures? The cost savings, for one (my salon usually charges $48 plus tip), as well as the fact that you can do it whenever! I tried this for the first time at 10:30pm one night. With no dry time, I knew I could have my mani done and get to bed in 20 minutes tops. With one at-home manicure, I’ve already saved myself at least $20 vs going out to the salon!
Here’s everything I use for at-home gel manicures.
The only real con is that you have to have a pretty steady hand, but that shouldn’t be hard for anyone who regularly does their own nail polish at home!
What you need for an at-home gel mani
- I bought a full kit to start, because it was cheaper than buying each piece individually. Mine came with the lamp, the gel base and top coat, a pink nail color, and primer.
- Lint-free nail wipes
- Cuticle eraser
- A metal nail tool
- Nail buffer
- Nail file
Tips for doing an at-home gel manicure
- Don’t put the polish all the way down to your cuticle.
- Definitely use lint-free nail wipes
- “Cap” your polish by making sure you swipe some across the tip top of your nail. It will make your manicure last longer.
- Don’t skip the prep, including using a cuticle eraser and this tool.
Have you tried to do a gel manicure at home yet? I’m hooked!
You might also want to check out my review of imPRESS press on Nails!


Leave a Reply