Since turning 35 I’m suddenly hyper aware of my fine lines and wrinkles. It doesn’t help that every other influencer I follow on social media gets constant Botox! Maybe you’ve heard of microneedling. I was brand new to it in 2020, but now I’m hooked. I don’t go to a dermatologist for it, as I’ve chosen to do microneedling at home.
What is microneedling?
Microneedling involves putting short needles into your skin, which can help diminish the appearance of acne scars, wrinkles, sun damage, uneven skin tone, and even stretch marks. You can do this at home with at-home tools or have it done professionally. At-home methods won’t be as effective as in-office, just like every other skincare procedure. But good candidates for trying this at home include anyone who’s a little wary of invasive treatments and high prices. (If you’re going to have this done professionally, always look for a board-certified dermatologist.)
When you microneedle, you’re basically creating tiny wounds in the top layer of the skin that can help promote blood flow and collagen formation. That allows the skin to tighten and get thicker, combating the natural aging process. You can visit a dermatologist’s office for the treatment or buy at-home kits. Needles can range from 0.25 to 2.5 mm (they’re tiny needles). The at-home microneedle tool I use has 0.25mm needles.
Benefits of microneedling
Microneedling has been shown to minimize pore size, improve skin quality and texture. It can also reduce the appearance of acne scars, fine lines, and stretch marks too. It does this by stimulating collagen production, which also creates faster cell turnover.
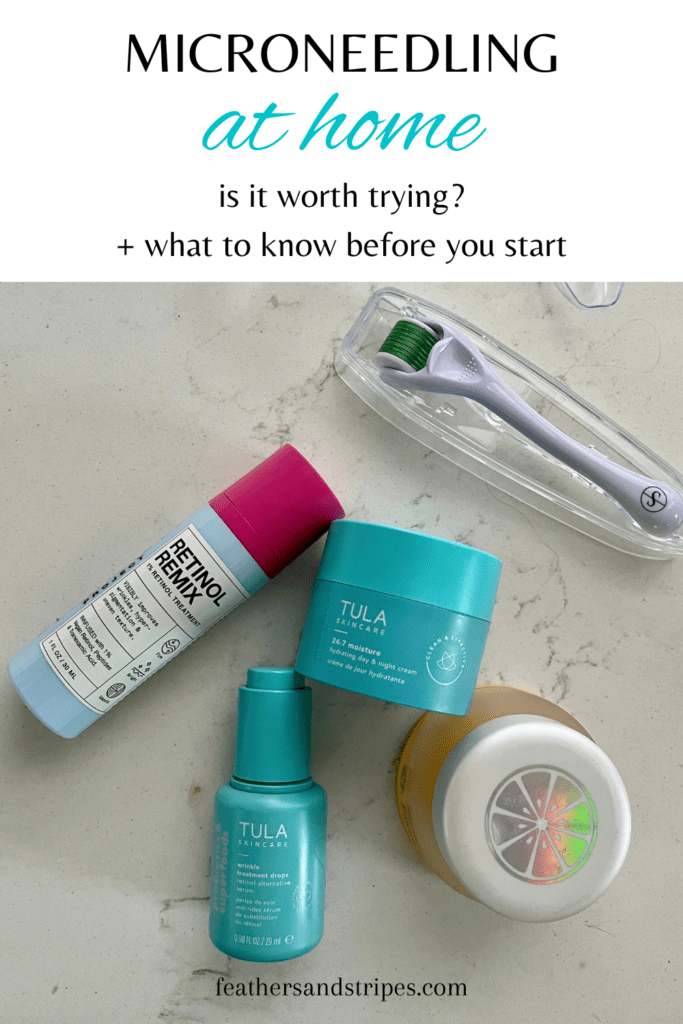
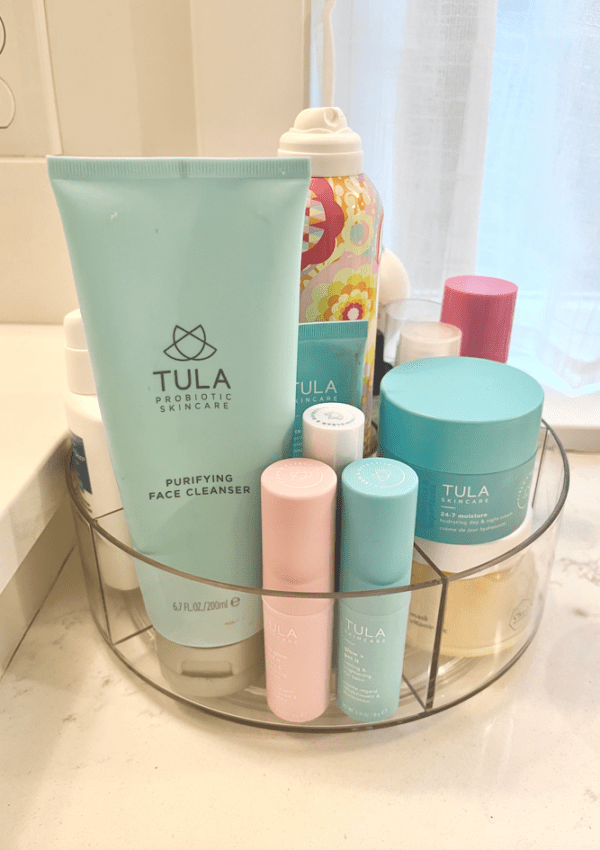
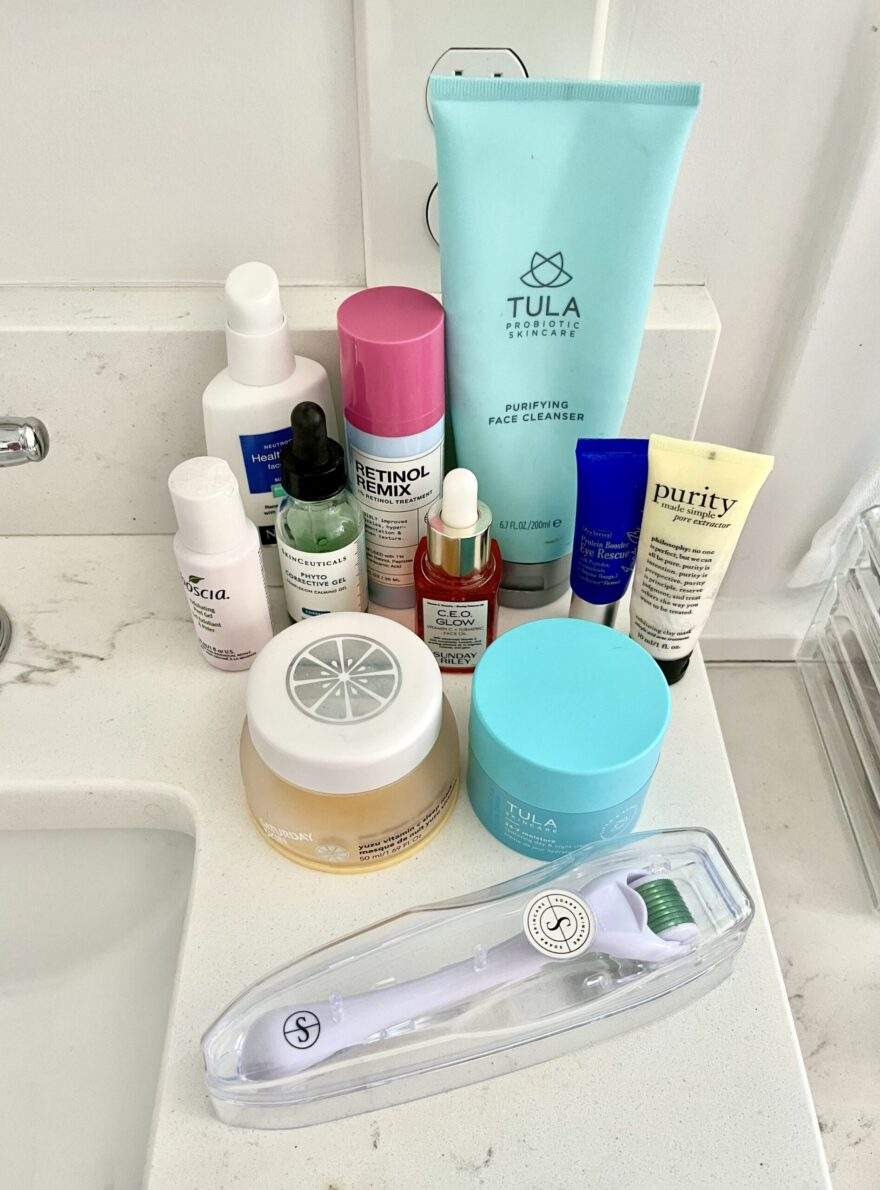
Microneedling basically makes it easier for your skin to soak in the good skincare products you’re already using. Otherwise they just sit on top of your skin. For best results incorporate high-quality skincare on top of microneedling. Here are some of my favorites:
Microneedling at home vs. in-office treatment
Microneedling tools you’ll use at home don’t go as deep as in-office tools (which have longer needles). They’re less effective because of the shorter needles. The needle depth is going to determine the level of elastin production and how fast your skin concerns are addressed. Where you might see results quickly from in-office treatments, at-home microneedling can take a few months to see results. It’s not something that happens overnight, though you may see some effects right away. There’s little to no recovery time, but I always do this at night before bed.
How often should you microneedle at home? Totally depends on your skin type and your skin issues. I’ve read everything from once a week to once every 4-6 weeks. I have sensitive skin, so I only use my at-home dermaroller about once a month.
At-home microneedling tools
One of the benefits of buying your own microneedling tools is that they’re MUCH cheaper than getting an in-office procedure. Where you can spend up to $1000 in an office, a simple at-home tool may be $200 or less. This is the derma roller I bought for a whopping $10. Way cheaper than in-office microneedling treatments! As soon as I used my microneedling device for the first time, I saw a much more youthful appearance. I think the most dramatic results have come when I’ve used retinol, but that took me a little while to work up to. First things first, work on getting used to the needle size and encouraging product absorption.
How to microneedle at home
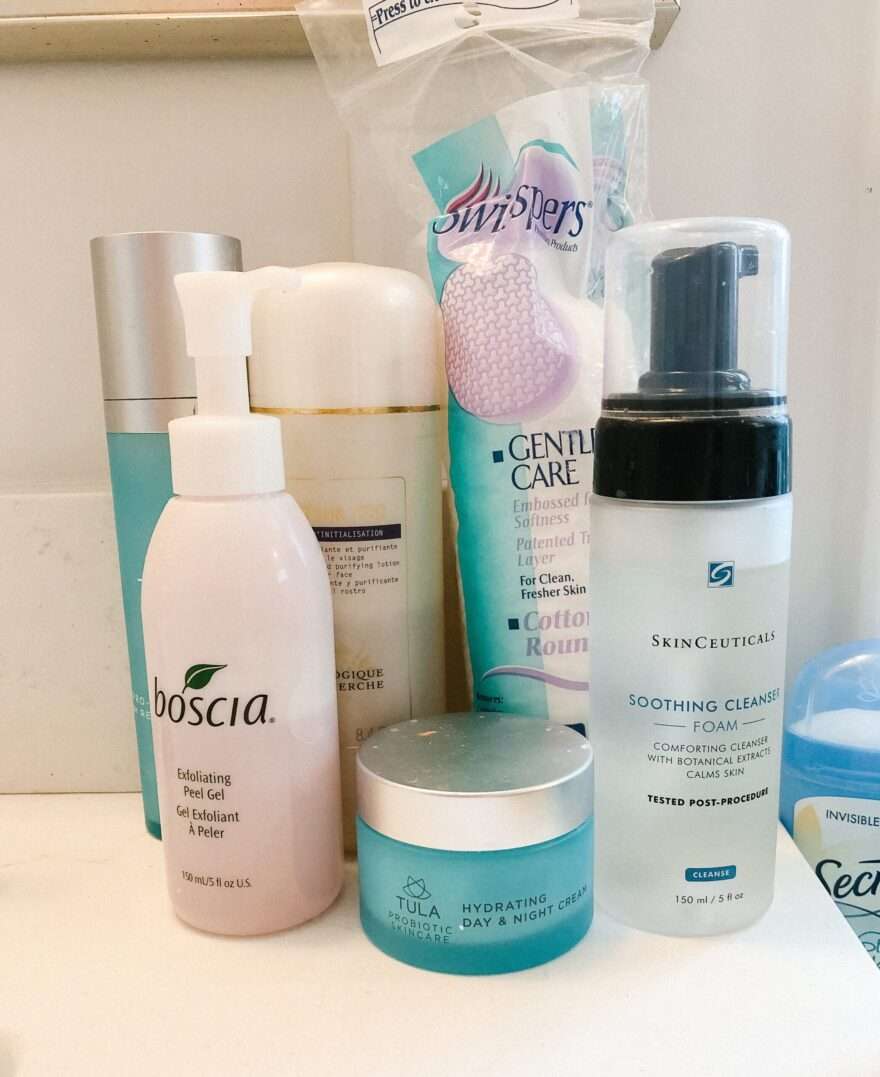
- Always, always start with clean skin. Use your favorite skin cleanser and ensure you’re removing all makeup and debris from your face first. I microneedle at night, after I’ve removed all of my makeup and washed my face with my favorite gentle cleanser. Then I go about my normal skin care routine.
- Even though I sanitize my roller after every use, I also sanitize it before using. The last thing you want to do is introduce bacteria into tiny open wounds on your face. All I do is soak it in rubbing alcohol.
- Once you’ve sanitized your roller, roll your microneedle tool around your face. I go in a series of lines that basically look like an asterisk (*).
- Since you now have tiny punctures in the top layer of your skin, this is a great time to use the gentle products you have to combat those fine lines. I usually incorporate this hyaluronic acid, this retinol alternative (or this retinol), a brightening serum, and then my moisturizer. (See more of my favorite sensitive skin products in this post.)
The first few times you microneedle, avoid putting makeup on your face for about 24 hours afterwards to see how your skin reacts. Avoid saunas or excessive sweating for those 24 hours too. Your skin will be extra sensitive, so make sure you’re wearing a hat and/or using SPF anytime you will have sun exposure.
You can add retinols and other products back into your routine after you’ve gotten used to the microneedling treatment, but avoid those and Vitamin C to start.
At-home devices to check out:
I recently read that people are using microneedling to encourage hair growth, so I’m going to 100% check that out. It’s such a minimally invasive treatment and there’s really no downtime like other professional treatments for hair loss or thinning.



Leave a Reply